Day 3: Deadly Décor – Transform Your Space into a Murder Scene
Halloween is creeping closer, and it’s time to take your party space from ordinary to absolutely chilling. Day 3 of our 31 Days of the Ultimate Halloween Mystery countdown is all about Halloween party decorations ideas that look terrifying but won’t terrify your budget.
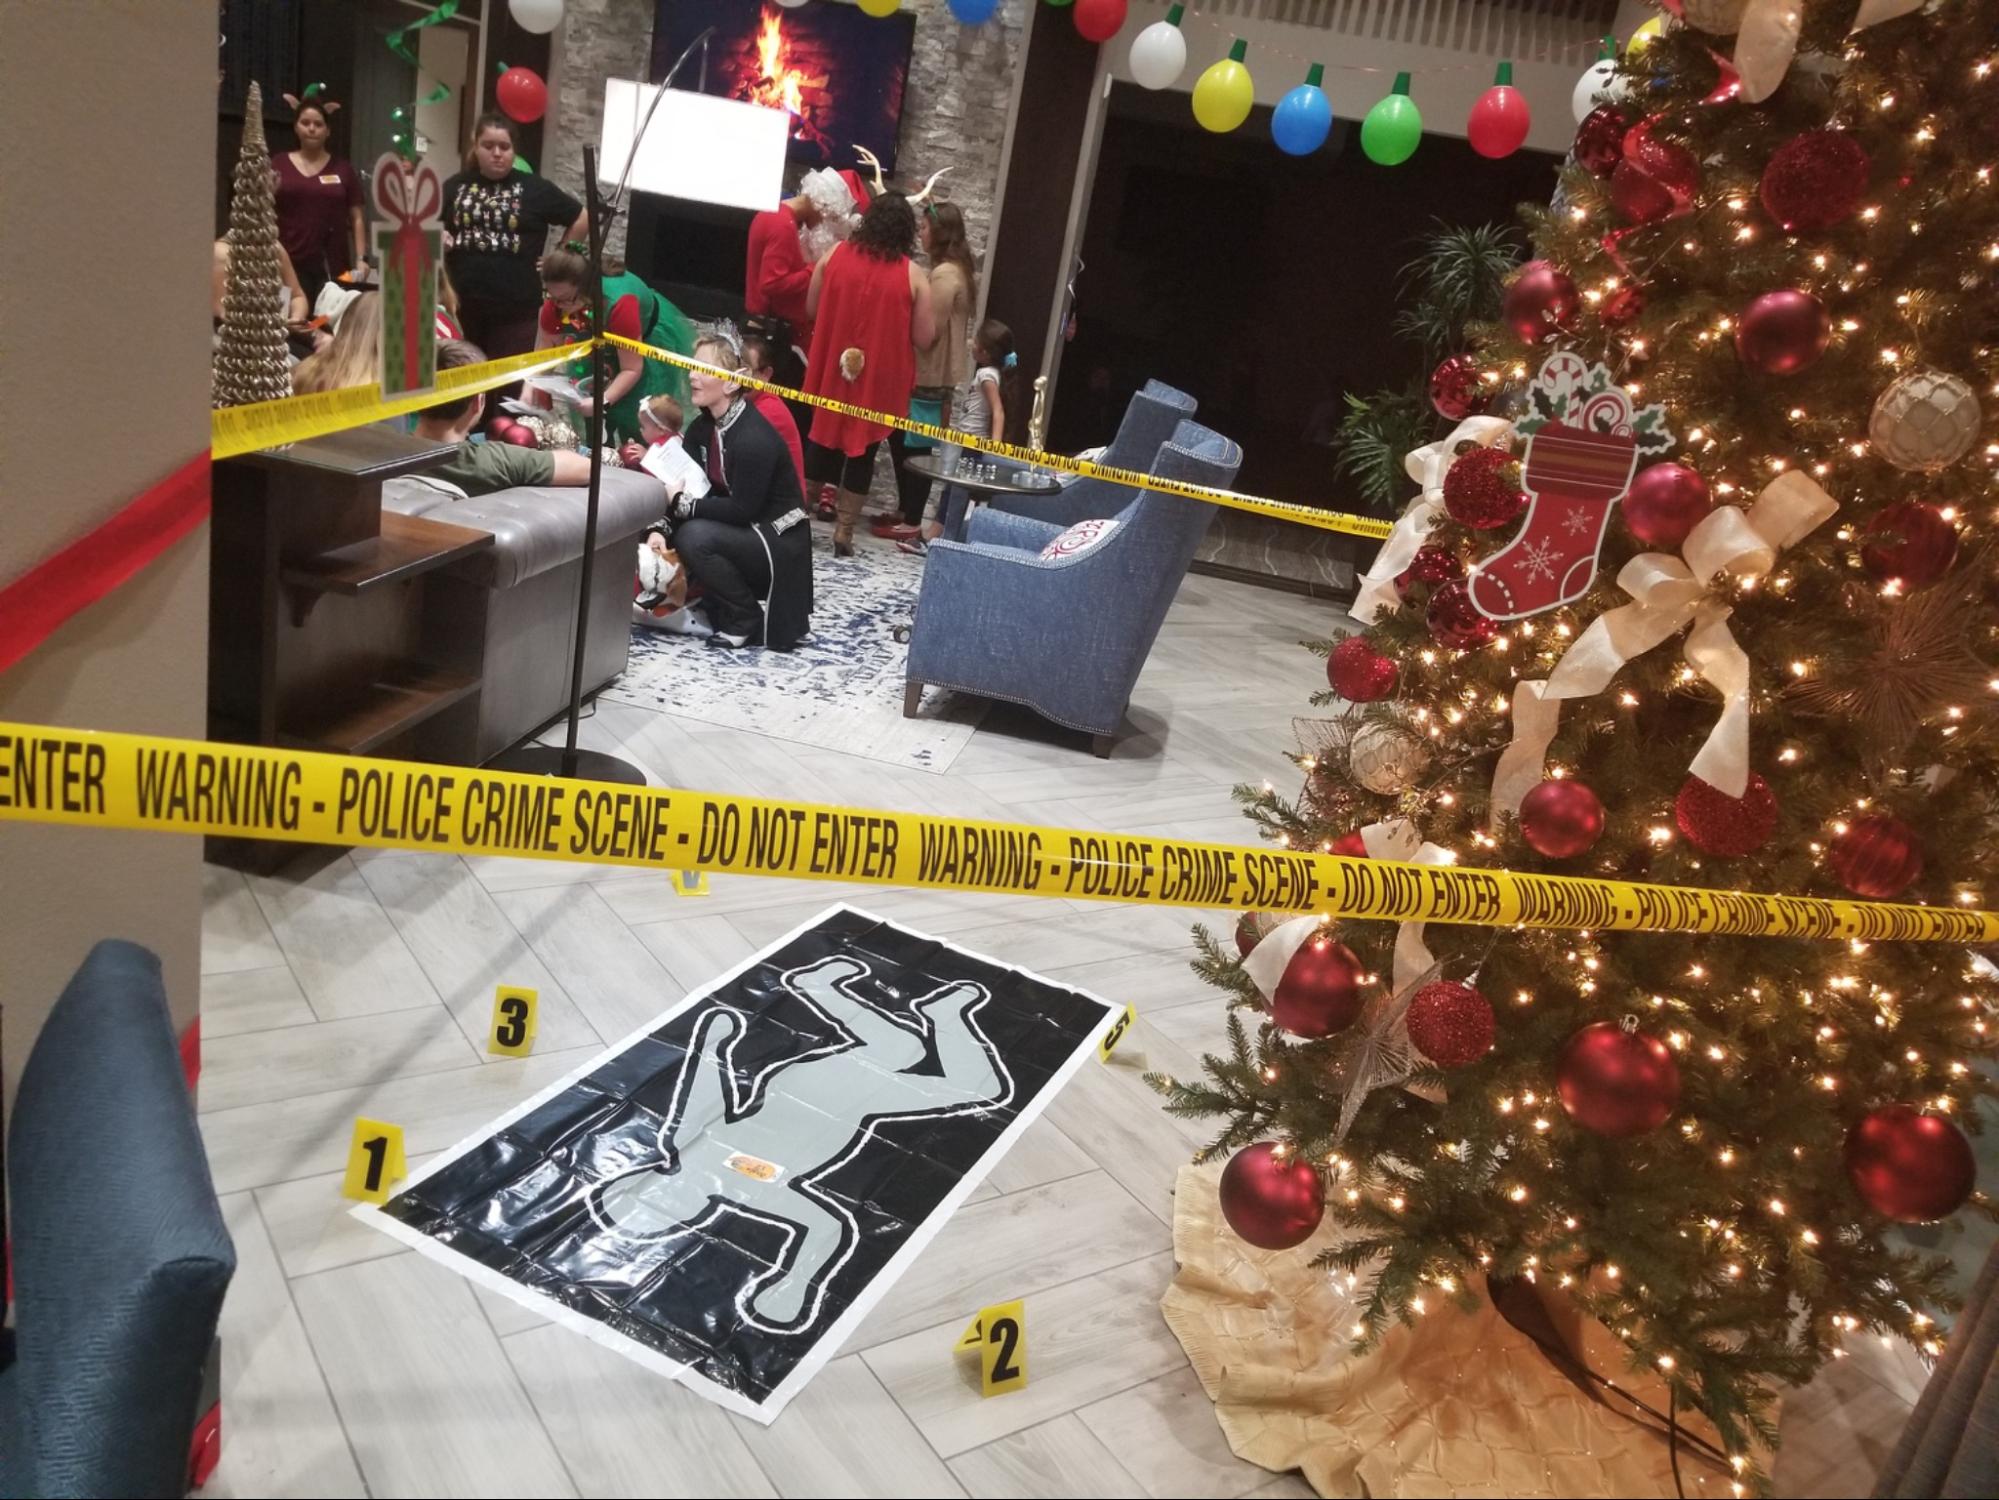
Today, we’re showing you how to transform your home into a murder scene with simple, dollar-store finds. With just a few props, some clever DIY tricks, and our exclusive printable evidence markers, you can set the stage for a night of mystery, mayhem, and murderous fun.
Supplies Needed (All From the Dollar Store!)
- Yellow caution tape (rolls go a long way)
- Red food coloring or fake blood (drip it on windows or plastic tablecloths)
- Plastic tablecloths (white works best for “blood spatter” effects)
- Chalk or chalk spray paint (outline a “body” on the floor)
- Plastic knives, scissors, or hammers (for faux “weapons”)
- Candles or LED tealights (safer option for moody lighting)
- Black trash bags (great for covering furniture or creating a “crime lab” look)
- Clear evidence bags (or sandwich bags with labels) for DIY “crime scene evidence” props
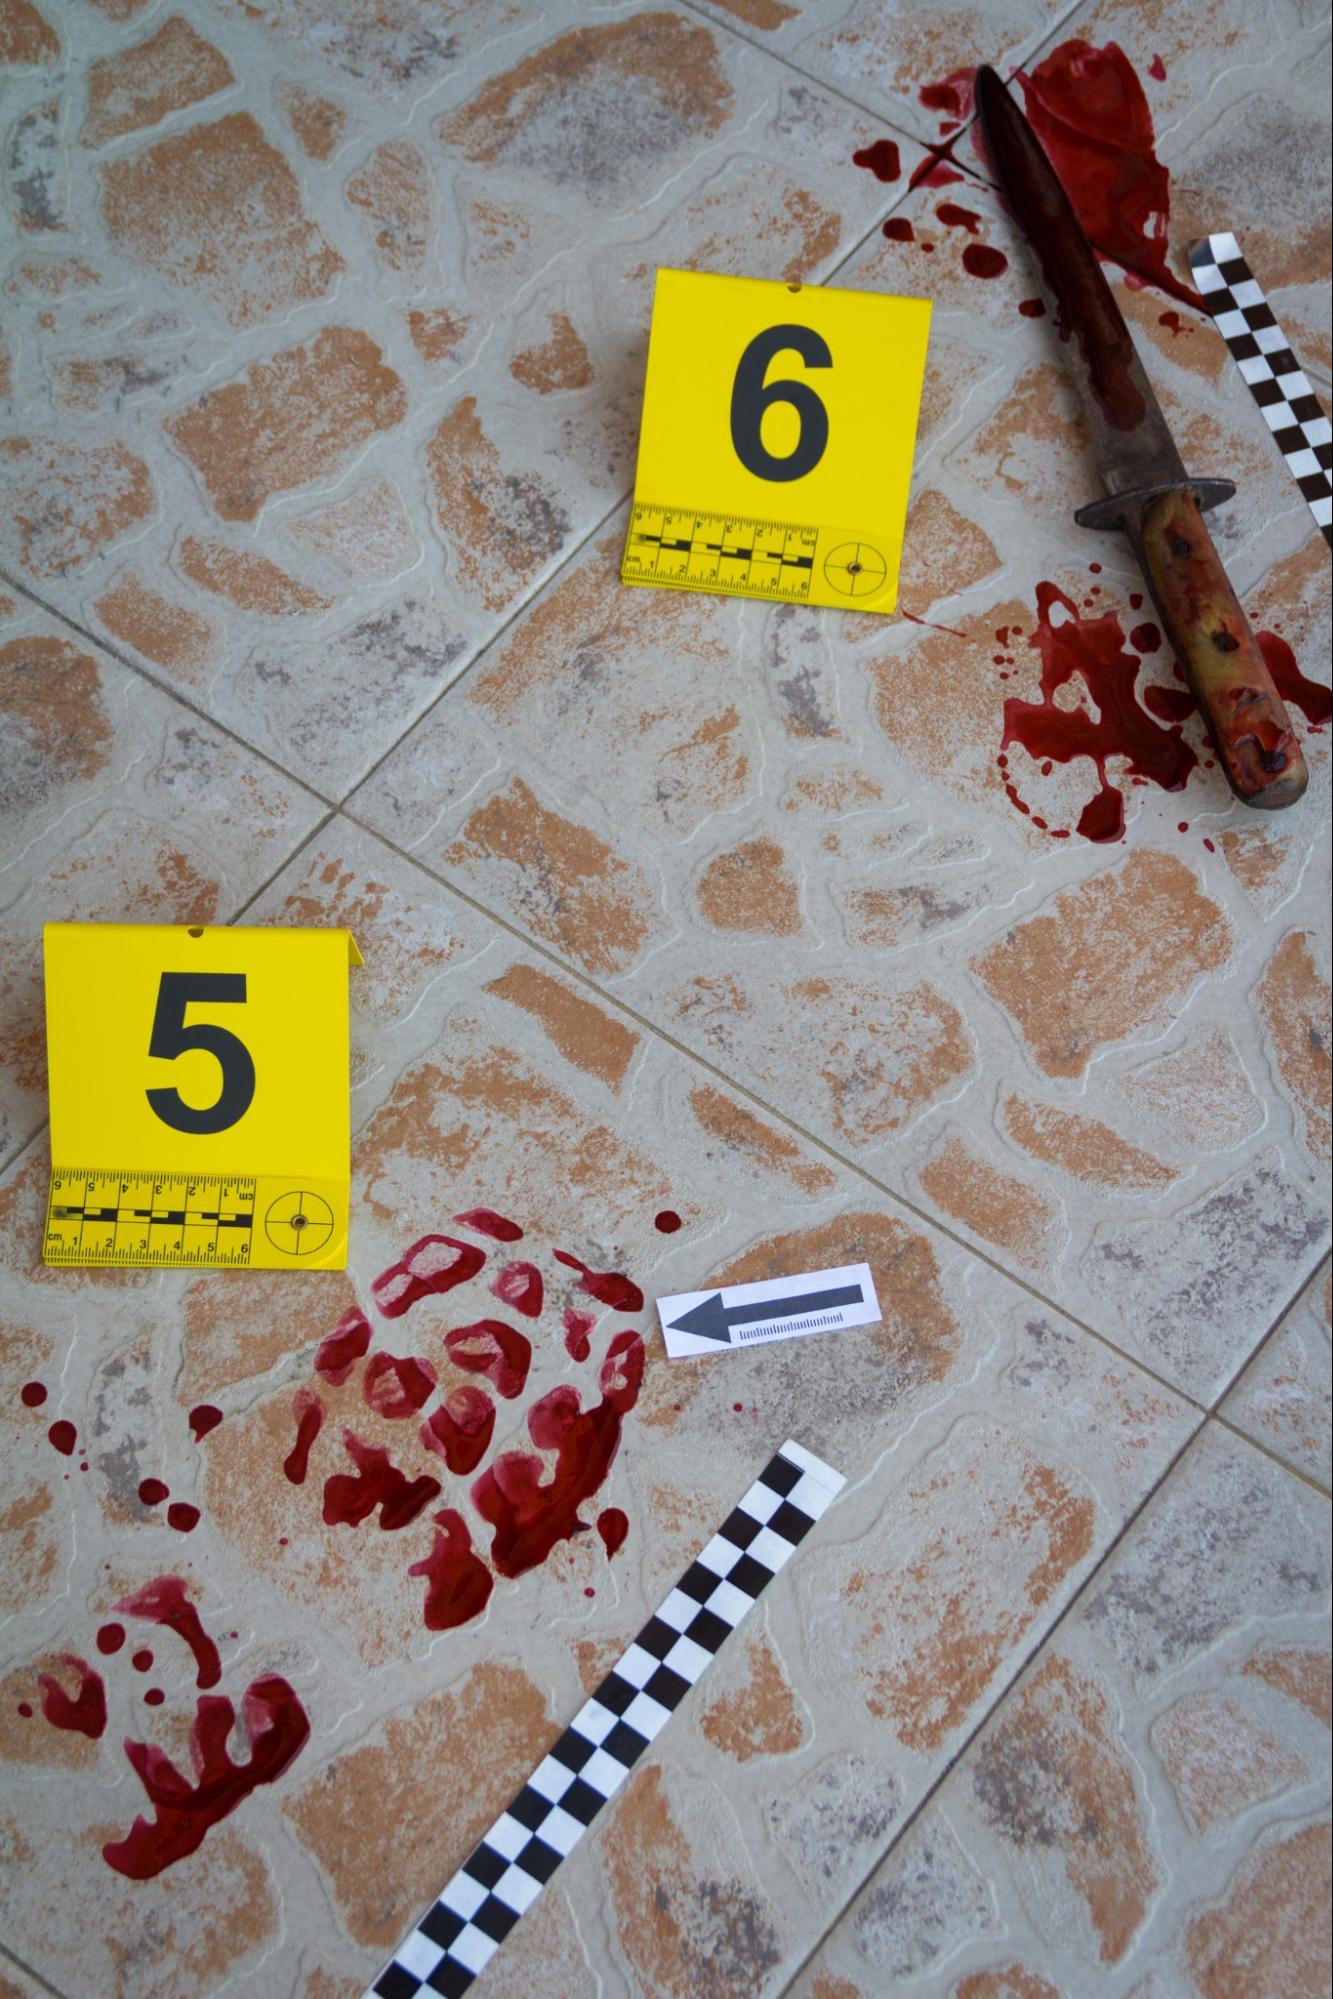
- Printable Evidence Markers (download from us, print, cut, and fold for authentic CSI vibes!)
Step-by-Step Setup
- Create a Crime Scene Entrance
Wrap your front door in caution tape and add a cardboard “Crime Scene: Do Not Enter” sign. Guests will know right away they’re walking into something sinister. - Outline the Body
Use chalk on the floor (driveway, basement, or living room) to trace a fake body. Want extra drama? Place a pair of old shoes or a wig inside the outline for realism. - Splatter the Evidence
Lay down white plastic tablecloths and flick red food coloring or paint for a blood-splatter effect. Bonus: it keeps your real furniture safe from spills. - Stage the Weapons
Scatter plastic knives or toy hammers in “suspicious” places. Wrap them in evidence bags with handwritten labels like “Weapon A – Found near the fireplace.” Then, set your printed evidence markers next to each “discovery” for a truly crime-scene feel. - Set the Mood with Lighting
Dim the lights and swap overheads for flickering candles or LED tealights. Add black trash bags to cover lampshades for instant eerie shadows.
Budget & DIY Hacks
💀 Caution Tape Shortcut: Can’t find caution tape? Cut strips of yellow trash bags and use a Sharpie to write “Do Not Cross.”
💀 Evidence Tags: Print or handwrite little tags that say “Exhibit 1” or “Property of CSI” and attach to random props.
💀 Bloody Handprints: Mix red food coloring with cornstarch and smear on windows or mirrors for a chilling effect (cleans off with warm water).
💀 Free Evidence Markers: Print our free downloadable markers, fold them into triangles, and place them around your scene to mark “clues.”
Why This Works Like a Killer Charm
Every murder mystery thrives on ambiance. A room draped in caution tape, blood spatter, and “evidence” instantly immerses guests into the story. Guests won’t just be at a party—they’ll feel like they’re stepping into the middle of an investigation.
Better yet, the décor ties directly into your mystery’s plot. Was the victim “found” in the living room? Stage the body outline there. Did the “killer” leave behind a bloody weapon? Place it by the snack table with an evidence marker to get people talking.
The Final Clue
With just a few spooky Halloween decorations, some DIY murder mystery props, and our printable evidence markers, you can stage a crime scene that’s equal parts terrifying and fun—all without blowing your budget.
Day 3’s décor tips will set the scene for unforgettable thrills. Tomorrow, we’ll turn up the scare factor with another chilling countdown idea you won’t want to miss.
👉 Want to take your Halloween to the next level? Check out our Murder Mystery Party Kits for a ready-to-play story that pairs perfectly with your newly staged “murder scene.”
#31DaysOfMystery #HalloweenCountdown #MurderMysteryParty #NightOfMystery
